The weather is beautiful here in the Texas Hill Country. So, I'm going out for a ride. Nothing special, just turning recycled hydrocarbons to greenhouse gasses. Should be fun. I'll be using BubblerGPS for tracking and spotting things along the way.
Luckenbach is a biker magnet on the weekends. I may swing by there to hang out some. Then maybe pop over to Javelina HD to watch the Riders Edge class. Wait, never mind, this is starting to sound like I have a ride plan or something.
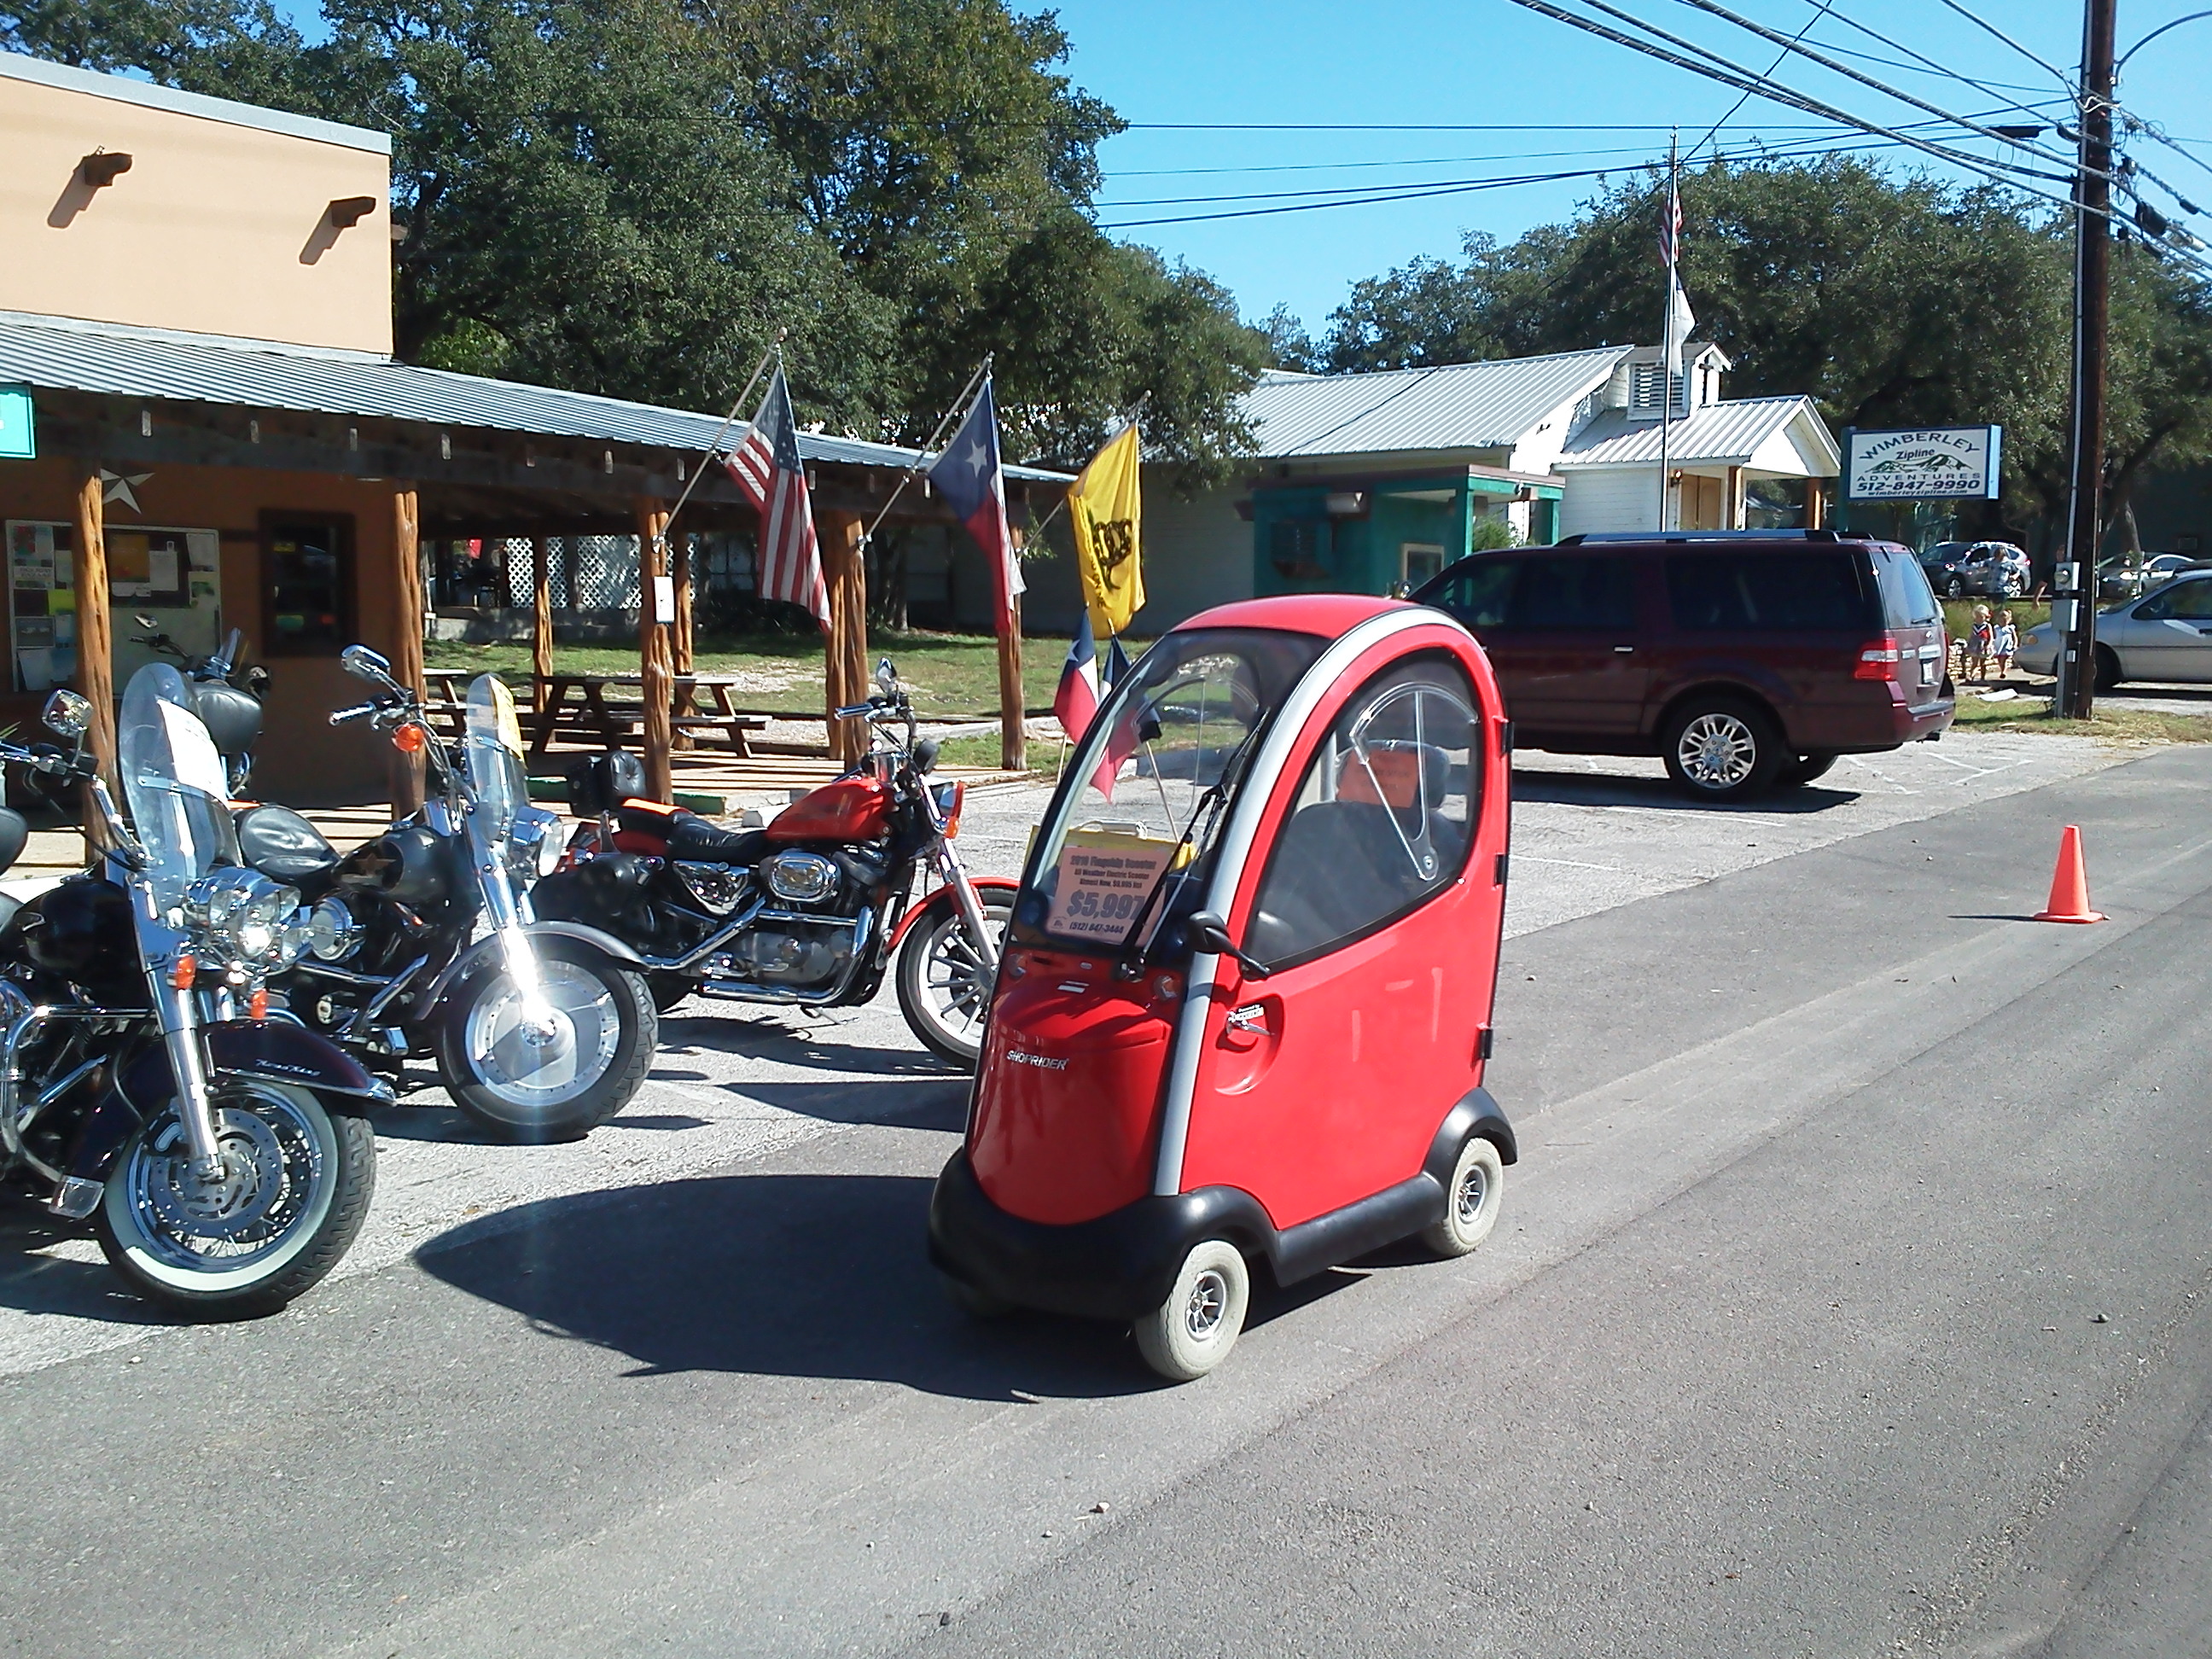
On the way into the village of Wimberley I saw this....thing.... at the local biker shop.
Check out the SpotWalla map above for pictures at some of my stops.
I want to tether my FLIR PathFindIR
and rear view camera to a micro display affixed to the inside of my
helmet. Of course, having the feed from navigation would also be way
cool. But, right now I'd settle for using the display for rear view
camera during the bright time of the day and the PathFindIR dusk till
dawn.
Technology is getting closer.
This post is about using the FLIR PathFindIR thermal imaging camera to enhance and extend perception distance while riding on a motorcycle. See: The FLIR Project posting regarding the acquisition and installation on my BMW R1200GS Adventure.
Rider view: Using the FLIR in daylight, at dusk, slight overcast. From this prospective you can see the FLIR display clearly. Although, not captured by the video camera the resolution of the display is good enough to see the thermal signature of warm blooded critters on the sides of the road 8-12 seconds ahead. Through practice and experimentation I have found the FLIR most useful by doing a quick glance at the display to a point that represents 6-12 seconds ahead.
(Select Full Screen and HD Quality)
FLIR Field Testing: The objective of this phase is integrate the FLIR under long distance riding conditions. How best to employ the system, exploit its capabilities, and identify limitations under day and night operational conditions.
Operational Environments:Videos in both thermal and visible light spectra. (click on YouTube link when available)
Video Capture Methodology
Listed above are or will be several videos showing how the FLIR can increase perception distance to gain advance notice of possible hazards on the path of travel. Some demonstration videos will be a mix of both day and night riding conditions. There are two types of videos, 1; showing how the road ahead looks from the rider's view and 2; of the thermal image captured by an in-line DVR. Edited into the DVR recordings will be using visible light rider view, provided by the motorcycle's OEM lighting, captured by GoPro Hero3 action camera using low light settings. The Hero3 is mounted on top of the FLIR housing to match the prospective views. This technique provides both visible light and thermal spectrum.
Using the FLIR PathFindIR thermal imagery while riding works differently than using just axillary lighting. The primary advantage of using FLIR over axillary lighting is thermal contrast. The FLIR
system does not detect the "temperature" difference the way a
thermometer registers degrees. Rather, the PathFindIR camera captures
the differences in the frequency of the electromagnetic spectrum in the infrared ranges.
To
detect objects the human visual system looks for object signatures
which differentiates it from the background. The term visual salience
is used in cognitive science to describe the features that make objects
detectable.
The size of the “difference” with the
background must become higher than a “threshold value” before the object
becomes salient, or in other words, draws attention. In terms of
naturally camouflage animals, consider the following attributes that
have traditionally been mentioned that help one to detect an animal hazard in the riding environment.
Movement – shapes moving in a static environment or not moving in a dynamic environment will draw attention.
Shine from reflective surfaces – Eye reflection of animals at night..
Shape – humanoid and animal shapes draw attention
Silhouette – a contrasting blob against the background.
Color and texture – natural camouflage and animal surface textures are hard to detect especially at night.
Shadow – the mind can calculate probable shapes from the shadows cast – especially human and to a lesser degree animal shapes.
Spacing – regular spaced objects form a pattern that will draw attention.
Thermal imagery facilitates detection by inducing readily detectable contrast
into the natural background. By highlighting the infrared signature of
animals against the neutral background detection of hazards is
significantly enhanced.
--------------------------------------------------------------------------------------------------------------------------------- Night Riding Basics:
Riding at night poses a special problem for motorcyclists. Reduced visibility ahead increases the possibility of striking something in the intended path of travel. Debris on the road, or worse, an animal if struck can result in severe injury, possible death.
It takes training and purposeful practice to reduce the risks of riding at night or under less than ideal visual conditions like fog, heavy rain, smoke or dust. Using the MSF Rider Radar concept helps to prioritize one's attention while riding. The table below is how I prioritize the threat for hazards ahead:
Threat ZoneThreat Level Distance AheadPath of TravelShoulder Margins
2 Seconds Extreme High
4 Seconds High Medium
6 Seconds Medium Low
12 Seconds Low Low
Anything in the 4 second immediate path of travel must be dealt with. A moving hazard anywhere in the 4 second range can quickly become a High threat. The maneuver choices are reduce speed and/or swerving around the hazard. The objective is to see hazards before it gets within the total stopping distance of the motorcycle. Specifically, perception distance, reaction distance and braking distance. Purposeful practice can reduce reaction distance and a well maintained motorcycle can reduce braking distance. The FLIR PathFindIR is designed to enhance and extend the perception distance.
Perception distance is how many seconds ahead a potential hazard is recognized. Under ideal conditions during the day it is possible to see 10 to 12 seconds ahead. At 60 MPH 15 seconds ahead is one quarter mile. At night or under less than ideal conditions seeing only 4-6 seconds ahead is the norm. Sometimes using auxiliary lighting may extend this to 8 seconds. But these bright lights, like the high beam, must be turned off for approaching traffic. The FLIR PathFindIR can extend this perception distance out to as much as 15 seconds. And, provides a white hot thermal image of warm blooded hazards within 4-8 seconds ahead.
11/15/13: The developer of BubblerGPS Pro has made a change to the "Fuel" text option. Users can now select a format for text they put into the SMS bar. This effectively and simply solves the "Fuelly" issue. Thanks JoelT, well done!
11/14/13: On of my riding comrades brought to my attention that a quirk in Bubbler SMS texting function makes updating Fuelly -- MPG posting unusable. Fuelly is a great app and I've been using it for a year with over 165 fill ups.
Normal
updates to a rider's MPG log happen when the rider sends a SMS text
message the Fuelly telephone number in the following format: Odometer
Price Per and Gallons. Example 57500 3.599 8.700 After receiving the
text message Fuelly updates and returns the last tank MPG and running
average MPG.
I was excited about combining recording my fuel
stops with Bubbler and updating Fuelly at the same time. I tried it
three times since the SMS function was added to Bubbler. The first time
I tried it worked as expected. The second and third times not so good.
Eric
sent me an email when he found out the Bubbler is adding the word
"Fuel" to the SMS text string when one presses the Fuel button. This
extra text ("Fuel") in front of the expected Fuelly string give Fuelly
heartburn and it rejects it.
So, JoelT, if you're listening,
maybe you could help us out by removing the word from the Fuel button
SMS string. Or, add it to the end of the user text. Using Fuelly's SMS FAQ, anything after the first three numbers is treated as notes and can be free form text.
I'm
still liking Bubbler and want to work to make it more useful for the LD
community and beyond. I have made the Bubbler tracks and waypoint
postings primary for my blog maps with a link to my SPOT track/msgs
secondary. Using the Bubbler makes posting sight seeing pics to the
blog map a snap.
Original Posting on 10/5/13:
I was reading Iron Butt Magazine, Fall 2013, and came across on an article about Bubbler GPS. It's an Android app that works seamlessly with SpotWalla. I embed Spotwalla map in a lot of my blog posts. Bubbler GPS comes in two flavors; Bubbler GPS Lite which is free and BubblerGPS Pro for $9.99. Check out the website for the differences. I bought the Bubbler GPS Pro version. Since I already had a Spotwalla account getting Bubbler GPS activated as a new Spotwalla device was incredibly easy.
Bubbler GPS Pro allows one to attach icons, user text and pictures to the message markers that end up on the SpotWalla map. Below are the six different message categories the one can choose. As an example to record a bonus location using Bubbler GPS Pro follow this procedure:
Type the Bonus Location and Odometer reading in the text box
Click on the camera icon to activate the smartphone camera.
Frame and snap the picture. Accept or Retake as desired
Press the Bonus Location (Finish Flag) button.
The app then sends all that information along with the picture to the current SpotWalla map. Below is a Spotwalla map I created to test Bubbler GPS Pro out. It gives you a taste of how the program works. I still need to do more experiments to get the procedures down. But I'm very pleased with the way it works.
I used a Casio GZ'One Commander, 3G, with Verizon. I kept the phone in the upper left pocket of my Klim Lattitude jacket and had no reception issues. I started with a fully charged battery and ended 4 hours later with about 60% juice left. The battery consumption rate while not an issue on short trips would require plugging the phone in to the bikes 12v charging while on extended trips. I ran my regular Spot II along with the Bubbler GPS Pro app. You can compare the Bubbler GPS map below with the Spot II SpotWalla Map
 On the way into the village of Wimberley I saw this....thing.... at the local biker shop.
